Pre-Requirements:
Let’s get started!
Installing a SQUID Proxy Server for your network has a lot of benefits. I personally decided to install it for faster load times of websites that my network visits often, as well as to decrease the load of my cable modem. A little while later, I discovered how beneficial it was to also cache windows updates to speed up computers on my network updating.
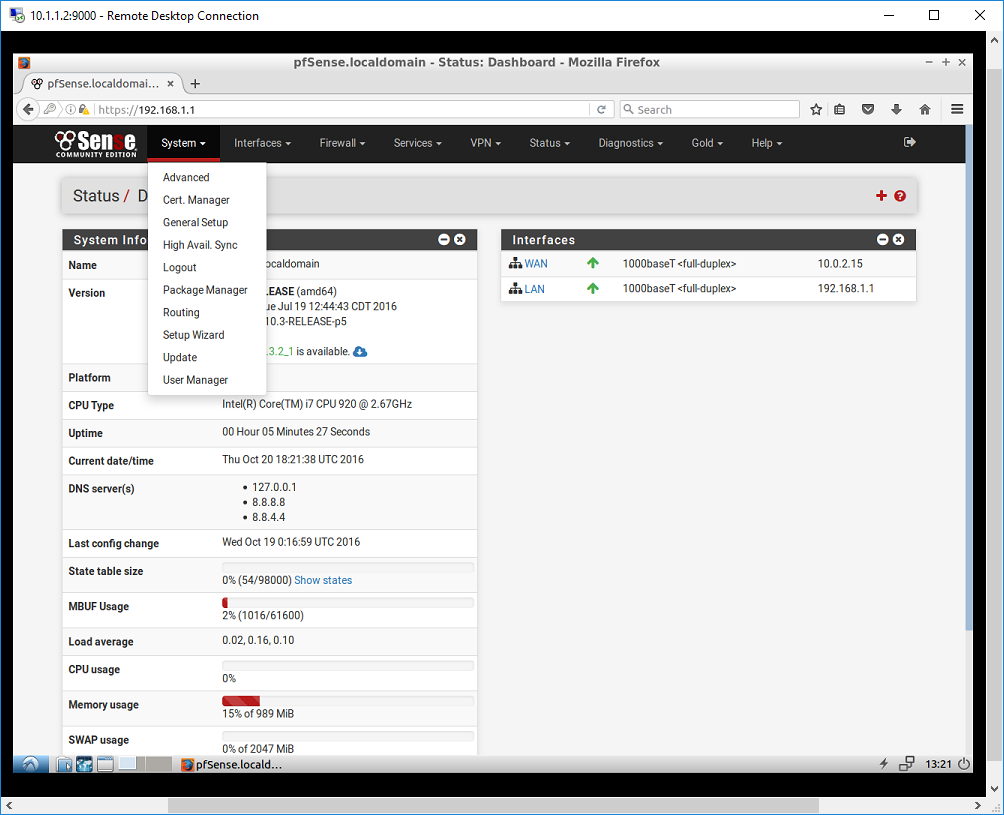
To kick off this guide, log into your PFSense webGUI and select the “Package Manager” option located in the “System” tab of the menu..
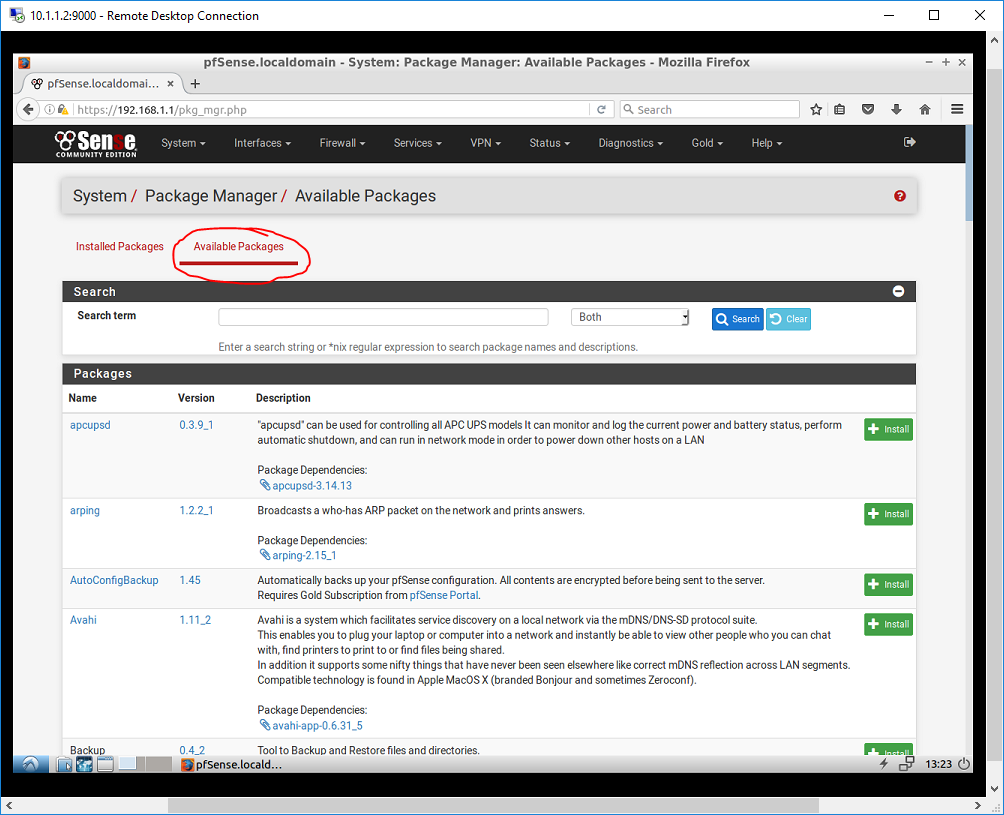
Then click on the “Available Packages” tab at the top to show all of the packages available for installation.
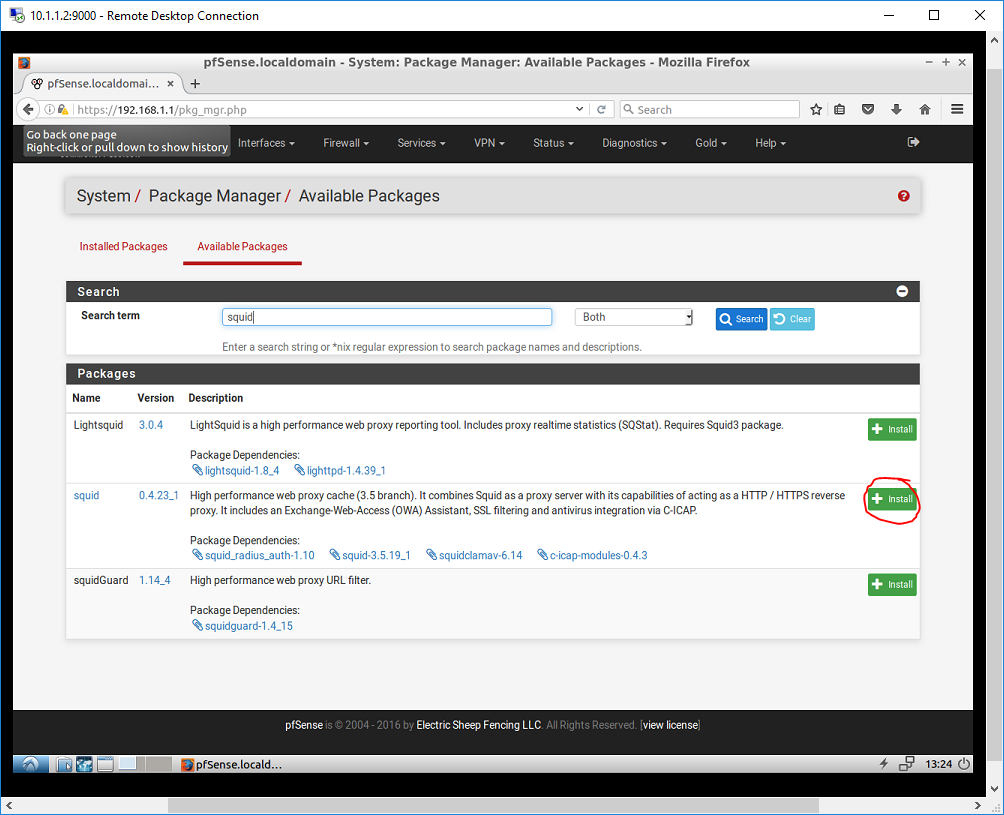
From this list, click on the installation button next to the Squid package, and confirm the installation..
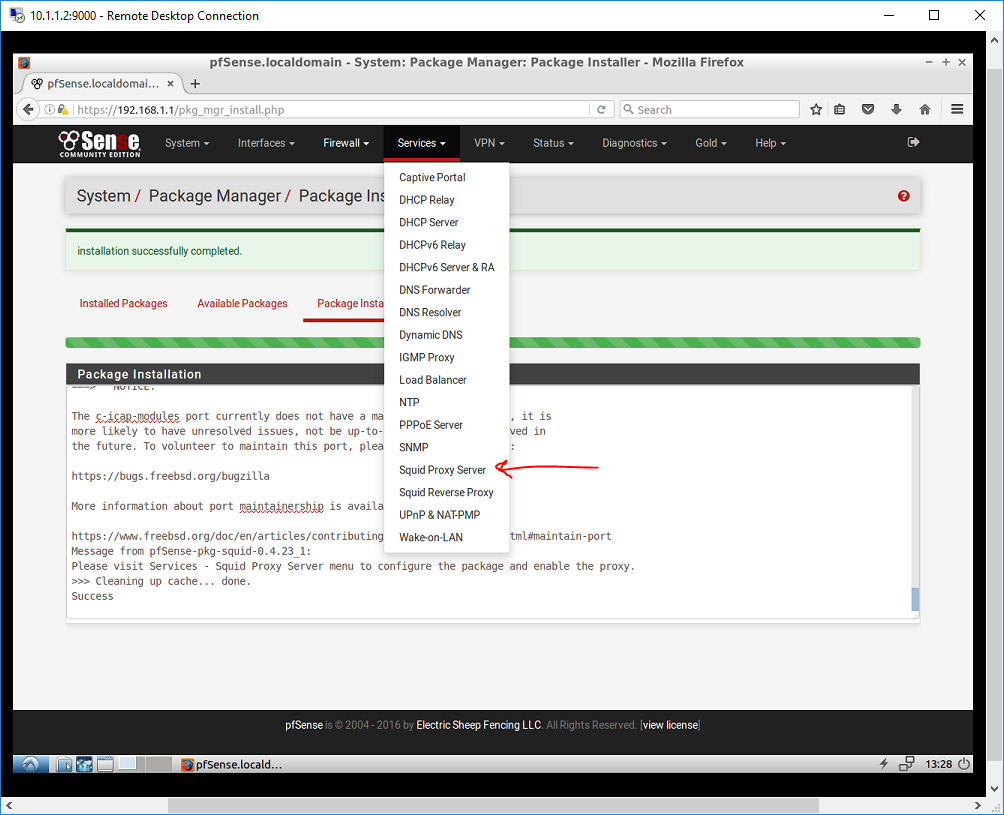
One the installation has completed, go to the “Services” tab and select “Squid Proxy Server” to begin setting it up.
Now the fun begins! Before we can enable the proxy, we must go to the “Local Cache” tab at the top to configure those settings. These are the settings that allow content to be saved locally.
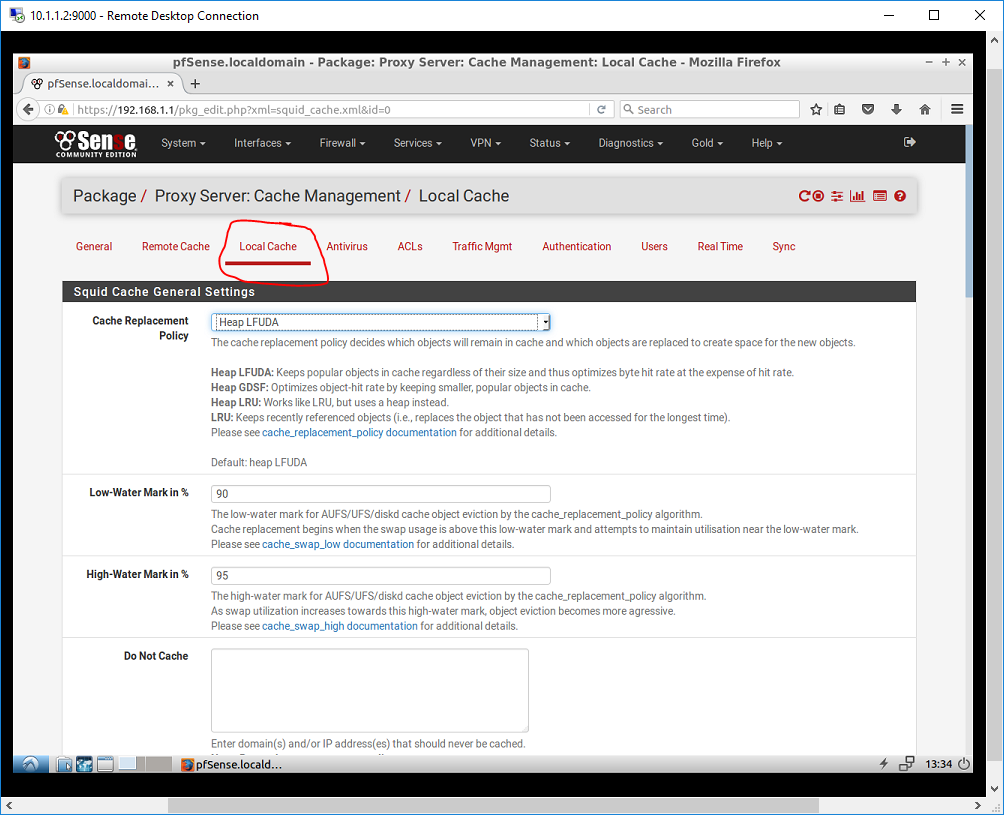
On this page, we will change the following settings:
- Squid Hard Disk Cache Settings:
- Hard Disk Cache Size: 3000
- According to the recommended size listed on the PFSense website, you should allow for at least 3gb of hard drive space for this to be effective. We will follow that recommendation, but can always increase it at a later time. On my personal network, I have 10gb in this setting.
- Minimum Object Size: 0
- This specifies the smallest file size allowed to be cached locally. This is sometimes modified so that small files aren’t cached since they’ll load fast anyways.
- Maximum Object Size: 4
- We are more interested in increasing load times on websites, so we will set this to 4mb. If you’re more interested in saving bandwidth, you should increase this size.
- Hard Disk Cache Size: 3000
- Squid Memory Cache Settings:
- Memory Cache Size: (I chose 500mb because my current VM only has 1gb of ram)
- This is the amount of RAM that the proxy is allowed to use. RAM is significantly faster than caching from a hard disk. Although you shouldn’t exceed more than 50% of the ram dedicated to this machine, the higher amount the better. In other PFSense machines, where I have 8gb of RAM dedicated to it, I have set this value to 4gb.
- Maximum Object Size in RAM: (default 256)
- This again specifies the maximum object size allowed to be cached in the RAM. I left it for the default, however, in other setups where my PFSense machine has significantly more ram, I have increased this.
- Memory Cache Size: (I chose 500mb because my current VM only has 1gb of ram)
- Dynamic and Update Content
- Cache Dynamic Content: Check this box!
- This setting is what allows your proxy to cache windows updates and speed the process up if you have several computers on your network.
- Cache Dynamic Content: Check this box!
- “Save” the page!
Go back to the “General” tab at the top and change the following settings:
- Squid General Settings:
- Check the box “Enable Squid Proxy” which is the very first check box on the page.
- Transparent Proxy Settings:
- Check the box “Transparent HTTP Proxy”
- Ensure “LAN” Is selected
- “Save” the page!
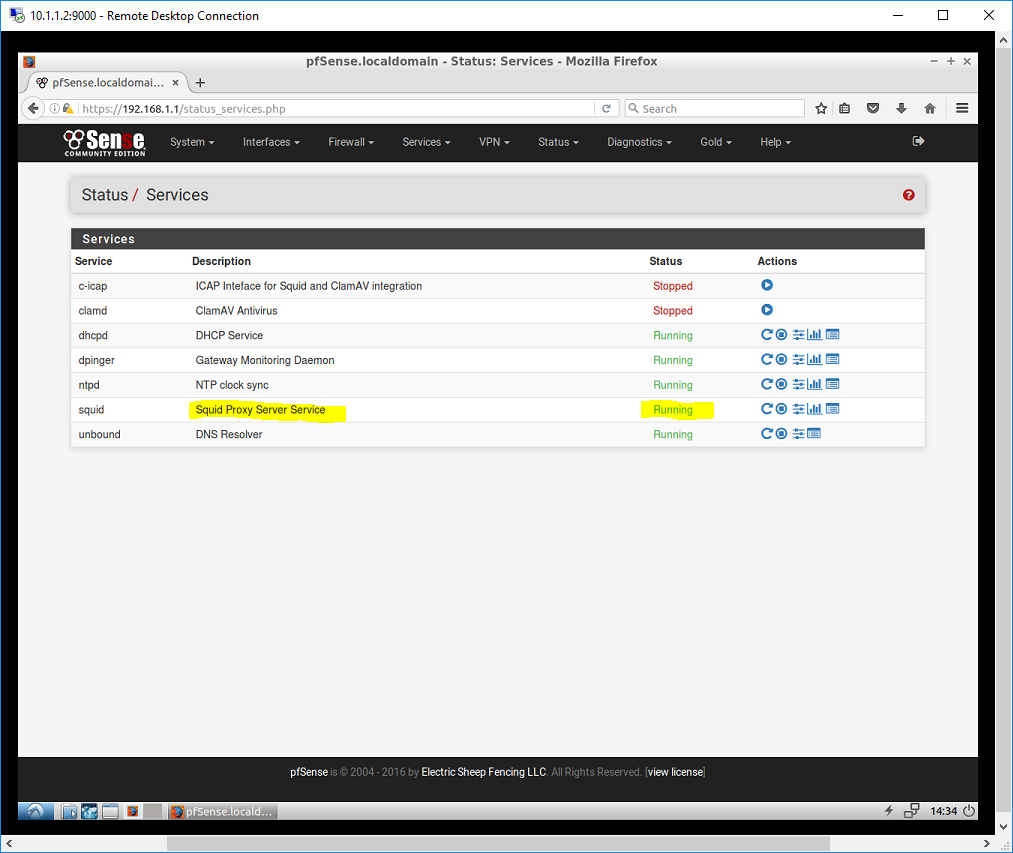
At this point, I like to verify that the service is up and running. To do this, click on the “Status” tab, and select “Services.” The following screenshot shows the the proxy server we just set up is running..
One thing I didn’t cover, is how to have your PFSense also virus check everything going through the proxy. This can be an advantage because even computers without virus protection would have the data it was receiving from the internet scanned. This is super easy to enable, and I’ve created a guide to help you do that as well if you wish.