Setting up your perfect network can be challenging, however, PFSense has proven to be a great solution for me. When I originally installed PFSense, I was completely lost, and all of the guides out there weren’t updated with screen shots from the most recent webgui which made everything even more challenging. This quick guide will hopefully help you, if you’re looking to install PFSense for the first time.
In my setup, I have PFSense installed on it’s own machine, however, when I first started playing around with it I installed it on a virtual machine (vm). For the sake of this guide, I will be setting it up on a virtual machine and network.
Now let’s get started!
The first step is to go to www.pfsense.com and grab the latest copy.
Download Link: https://nyifiles.pfsense.org/mirror/downloads/pfSense-CE-2.3.2-RELEASE-amd64.iso.gz
When I first set up my virtual machine, I looked at https://www.pfsense.org/hardware/ to verify that I would meet the minimum system requirements. Mainly, I checked the ram. In this case, I allocated the recommended amount of ram (1gb), and gave it 10gb hard drive space which is more than enough for later add-on packages. The next step is to mount the image, and start your virtual machine.
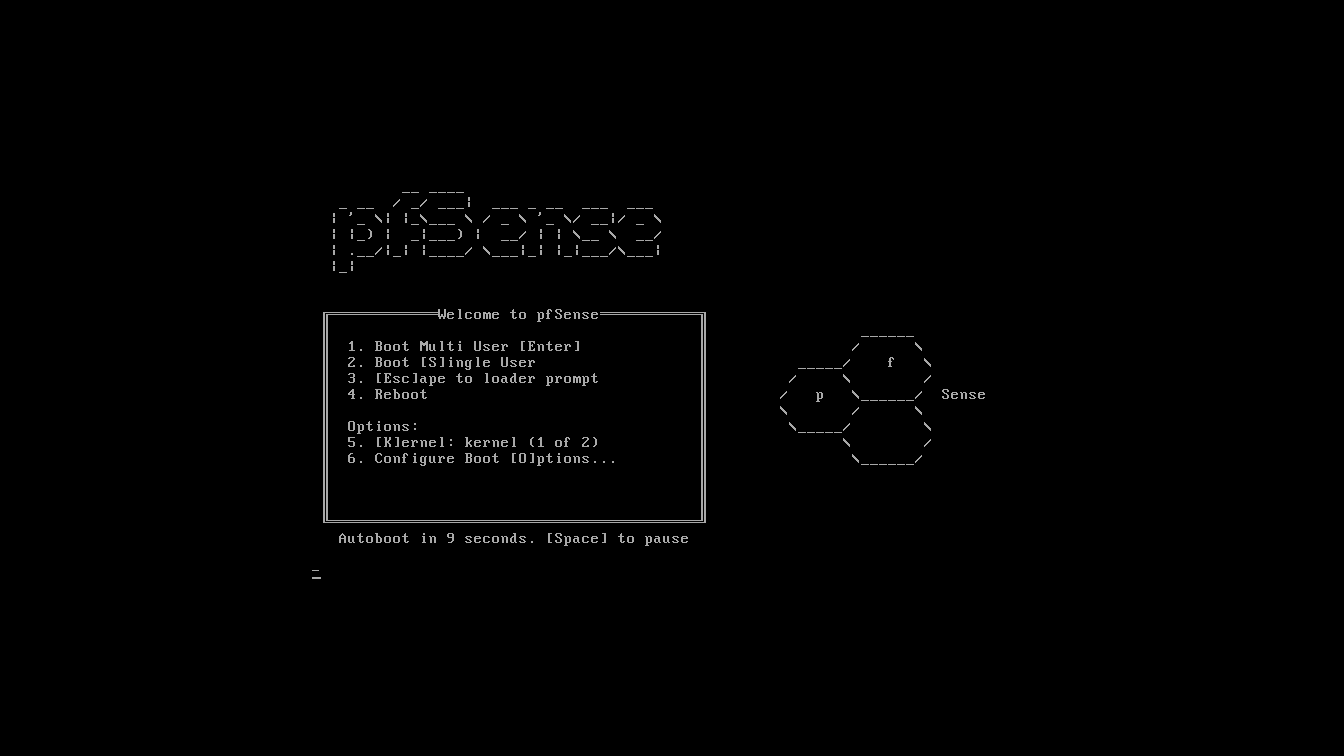
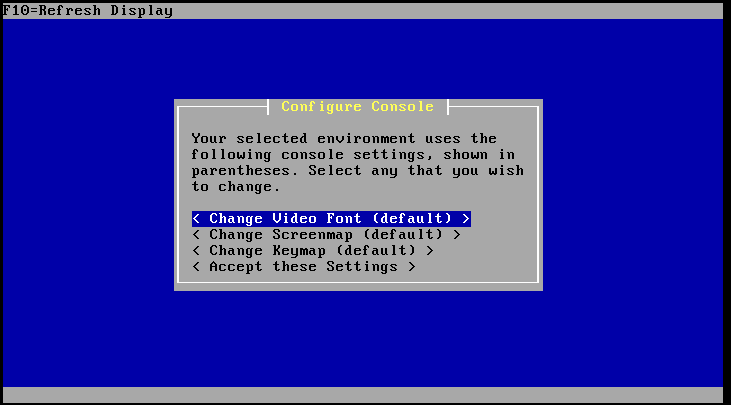
When your VM begins booting, you’ll see the above screen. Soon after this screen you’ll be prompted to hit the letter “i” on your keyboard to initiate the installation of PFSense. The next screen will verify some console settings, which I accepted without changing.
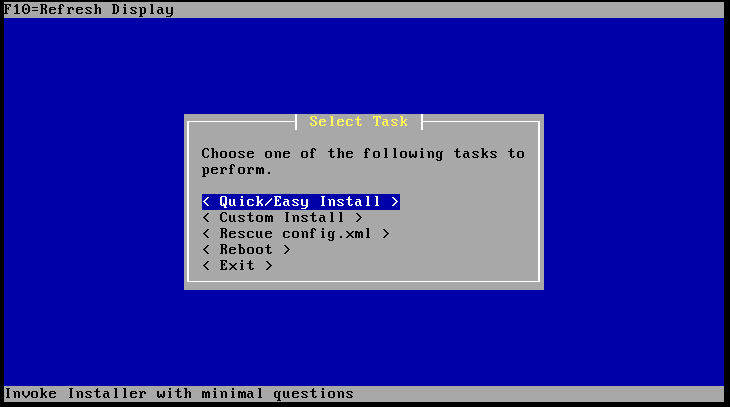
You’ll then be asked what action you’d like to preform. In this case, you’ll select “Quick/Easy Install”
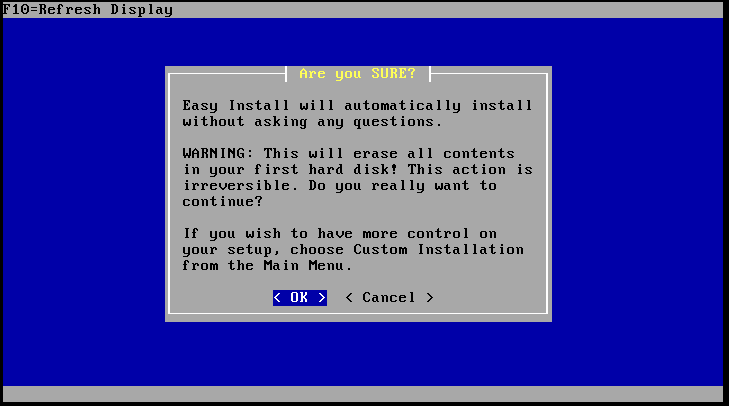
PfSense will then prompt you with a warning, stating that the install will erase the contents located on this hard drive. This is pretty standard when installing any type of operating system. In our case, we’re installing on an empty virtual disk so nothing should be saved on it anyways. Select “yes” to continue.
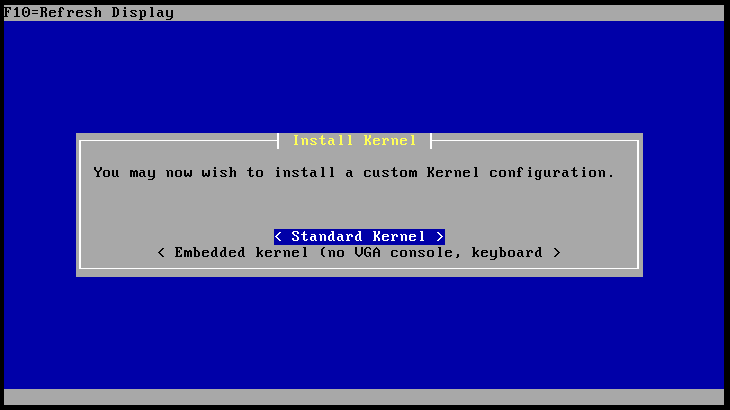
The installation will prompt you to decide between a “Standard Kernel” install or an “Embedded Kernel” install. The differences are outlined on the download page of pfsense (https://www.pfsense.org/download/), but in our case, we’re not installing PFSense to flash memory, so we are going to choose “Standard Kernel.”
Proceeding this, your install should be complete! Select the “Reboot” option on the screen, to finalize the installation, and to begin using it!
**Make sure that you un-mount your PFSense image file while it is rebooting, so that you’re not prompted to start the process over again.
